
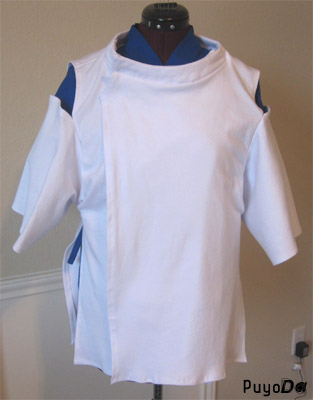
Well, as promised, here are more details of how I made Haku’s top. This is separate from the blue under shirt. I started by drafting a pattern:
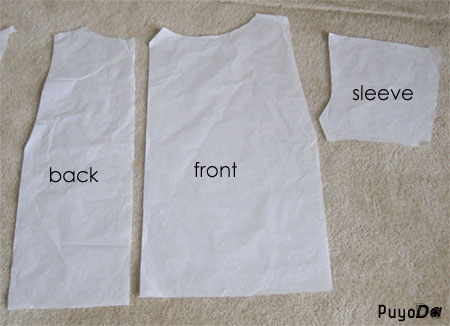
I used cotton interlock because it wasn’t very see through. I’m able to use one layer instead of lining it. Note that Haku’s top is not connected on the sides. When I started, I only sewed on the shoulders.
The front is 2 layers that overlap. They go about 3/4 of the way across the front.
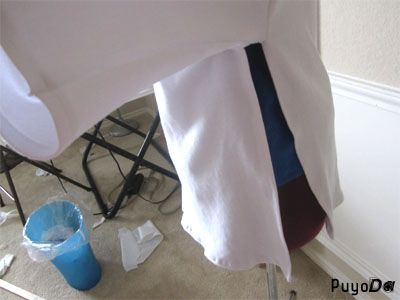
Next, I sewed on the sleeves. If you look at the pattern again, you’ll notice a little tab on the sleeves. I ended up not using that, so it’s not really necessary. My original plan was to only sew it on at that point, but it doesn’t stay up well enough. I had to sew more of it on, making the slit smaller.
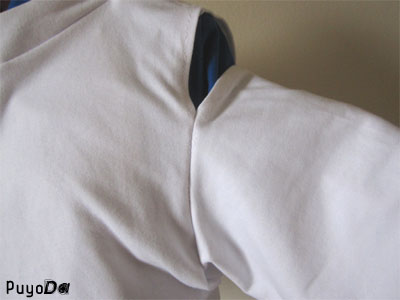
Because the fabric is kind of heavy, the sleeves drooped. To fix that, I ironed on light weight interfacing on the inside.
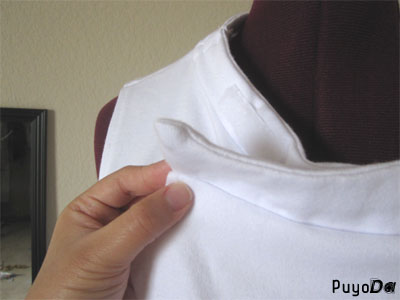
I don’t have a pattern for the collar because my original pattern didn’t fit. I kind of free handed it. It does close with velcro. I used 2 layers, so I’m able to sew on the velcro without it showing on the other side.
The top comes together with this purple sash. I just sewed together a tube of cotton fabric and zig zag stitched the ends.
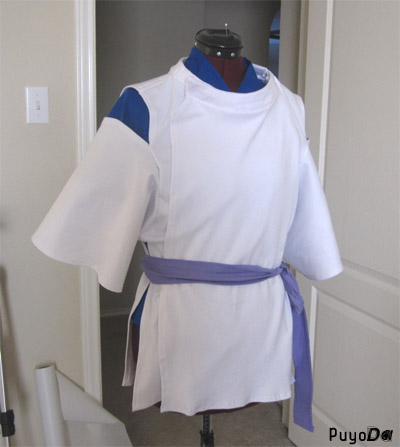
A couple things to remember about Haku’s top:
1. On the front layers, the left goes over right.
2. The sash is tied on the left side.
I want to make this top for my own cosplay, but how would I make the patterns? and how do i measure appropriately for the pattern?
I used one of my T-shirts to base the pattern off of, which also makes it to my size since it’s my T-shirt. Mm… can you check back later this week? I’ll try to make another blog entry that shows how I drew the pattern :)
Thank you! I will!
Hi! I was just googling some reference in making Sakura’s gloves (street fighter) and stumbled upon your blog~ I recognized your Haku cosplay/tutorial pics right away. It brought be back when I was making my Haku costume years back lol I used your pictures as reference then too. :D I just wanted to say thank you for the post. Your creativity and detailed pics and instructions helps a lot~ <3's from NY!
Eep, this is a super late reply! (I just realized my blog wasn’t notifying me of new comments.)
Thank you for your comment! That makes me really happy that my photos and entries helped out :D I hope my tutorial for Sakura’s gloves were useful too!
Great blog. Beautiful directions and pictures. We will be able to get through it even though I am a disaster with a sewing machine. Three cheers!
Good luck! If you need more help, I have another entry to go over the pattern!
http://cosplay.silent-white.com/2012/07/08/more-on-hakus-top/