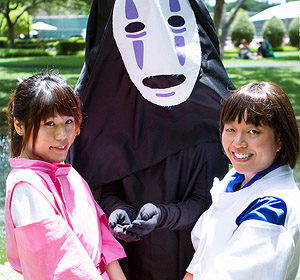
As I wrote in my previous entry, I decided to dye the fabric for my Punk Hazard Tashigi cosplay since I didn’t like the pink fabric that I found. Well, no biggie. I’ve done it before with success (like my Zia and Rhyme cosplays).
Let’s just say I made a couple bad decisions.
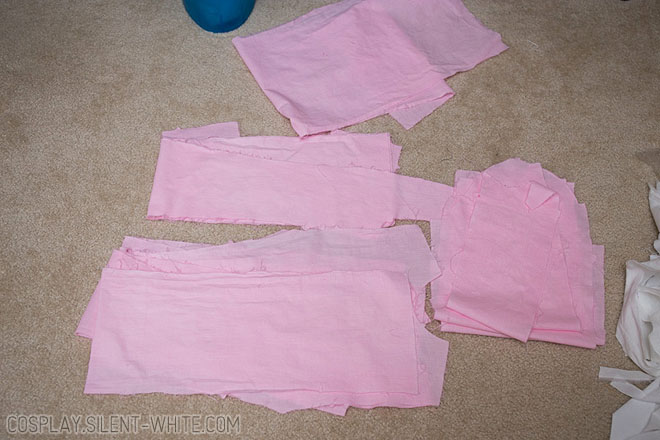
The first decision was around the amount of fabric I had. I had 4 yards of the outer fabric and 4 yards of the lining, and I didn’t have a plastic tub big enough to dye them. I decided to cut out the pieces first, and then dye them afterwards, meaning I only had to dye the exact amount of fabric I needed.
This made them all fit in the tub, but! The edges of my fabric frayed pretty badly. (In retrospect, I really should have seen that coming.)
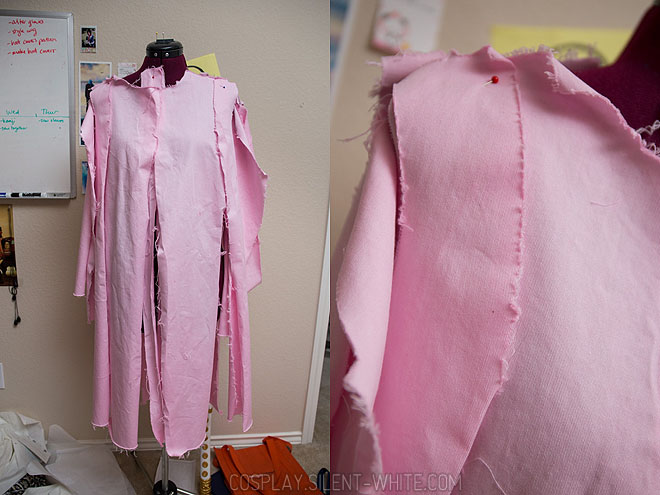
The second bad decision was when I opened up my bottle of Rit dye. I didn’t realize it could “expire”? What used to be liquid dye turned… chunky. I made the decision to use it anyway. It actually dissolved in the water, but I was impatient and didn’t let all of the chunks fully dissolve. There were specks here and there when I put in the fabric, which resulted in red spots:
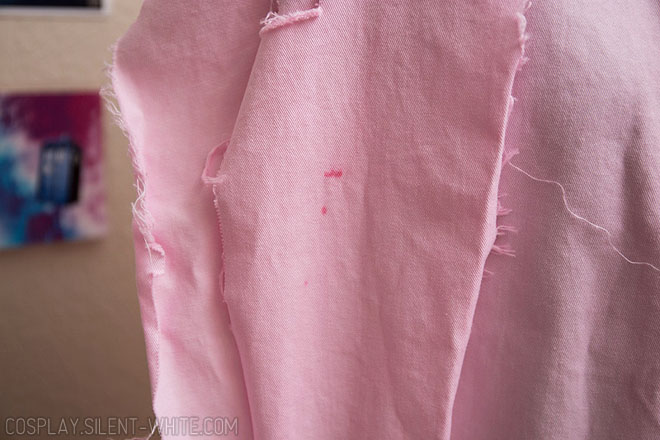
Funny enough, I was unlucky and the outer fabric took most of the hit, even though both the outer and lining fabric were in the same dye bath. In comparison, the lining fabric dyed very evenly and didn’t fray as badly.
So yeah…

Lessons learned:
- Don’t use chunky Rit dye.
- If I do use chunky Rit dye, make sure it fully dissolves first.
- Dye the full sheet of fabric, even if I have to do multiple dye baths. None of this piecemeal crap.
Fortunately, I’m able to recover from this. The frayed edges don’t matter that much since I have a serger, and I had extra fabric left over. I was able to dye that (this time, correctly), and I’m going to cut new pieces out to replace the ones that got spots on them.
It’s a minor setback (mostly in wasted fabric and time), but onwards to the next step!
