
I completed another part of my Raya cosplay, and it’s the pants!
I wasn’t sure what type of fabric to use at first. I was originally looking for some twill, but I ended up finding some olive-colored demin and went with it!
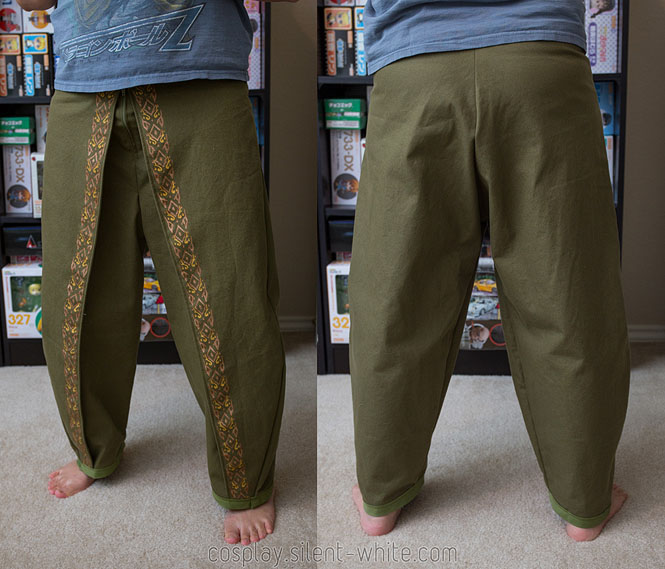
The pattern took me a few tries to get correct. I started by making some basic baggy pants, but the fit just didn’t seem to match the loose fit that Raya has. I adjusted the pant legs a couple times and also how the crotch sits, and this is what I ended up with.
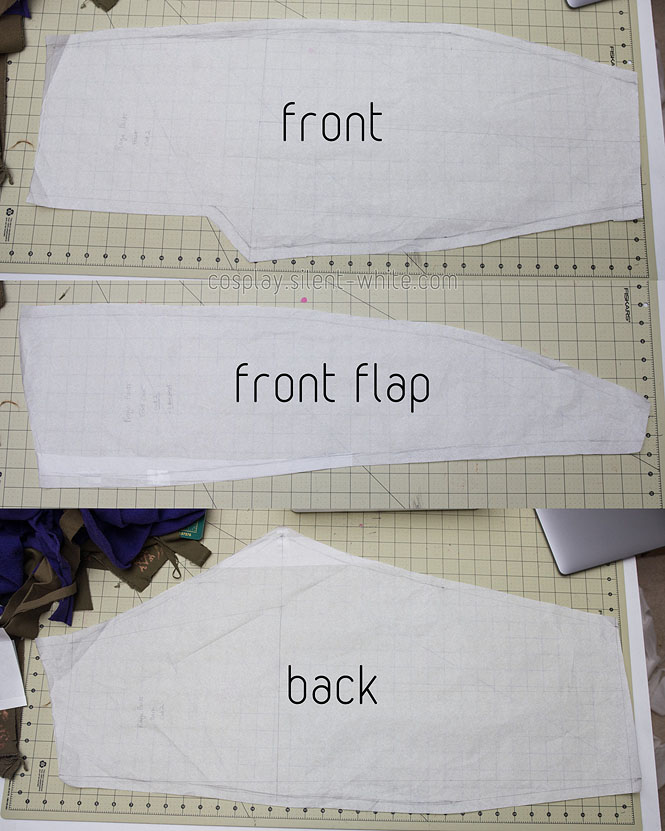
As for the front flap, I originally didn’t think it was connected to the pants and that it was some sort of pants cover that went over both sides of the pants. Well, I ended up re-watching parts of the movie and screenshotting uh… basically Raya’s butt… and realized that the flap was only on the front part and seemed to be part of the pants itself.
Read the rest of this entry »