Sorry for the lack in updates! I actually haven’t been working on anything new lately because I’ve been focusing on cosplay photography instead. I spent January post processing photos from Ikkicon, and I’m about to do another cosplay photoshoot too.
This means new photos of my own cosplays as well! I have a wireless release for my DSLR, so I’m able to trigger it remotely and basically take selfies XD;;
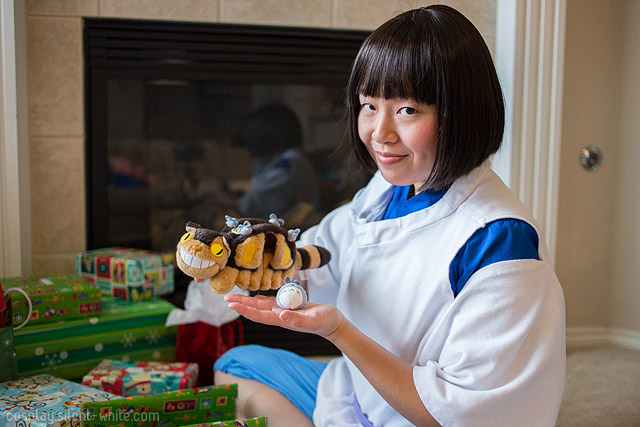
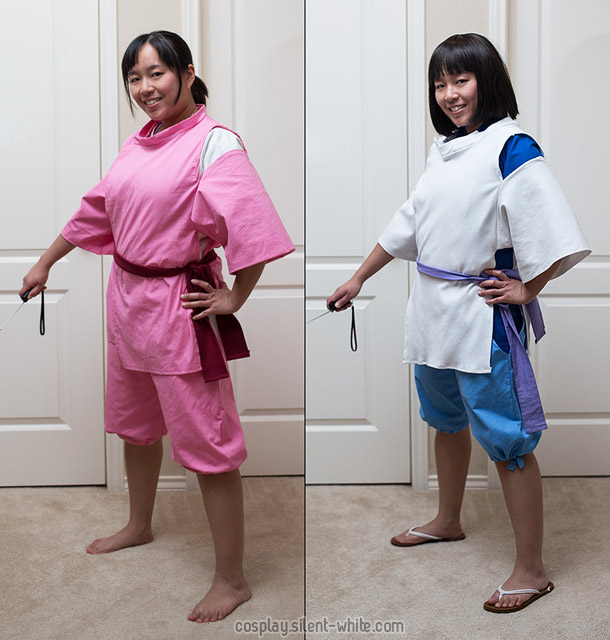
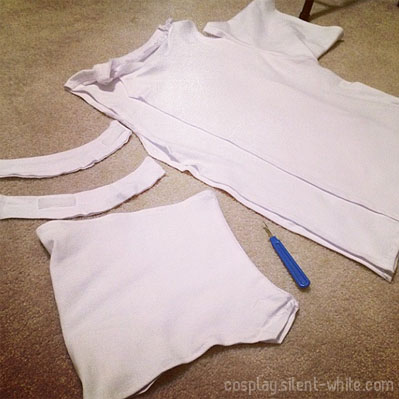
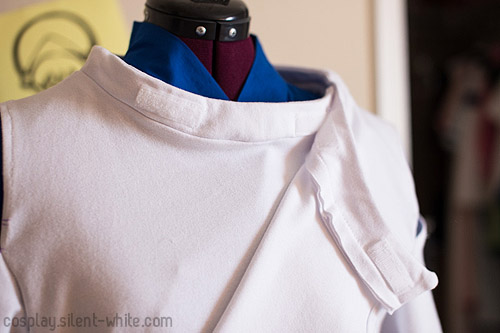
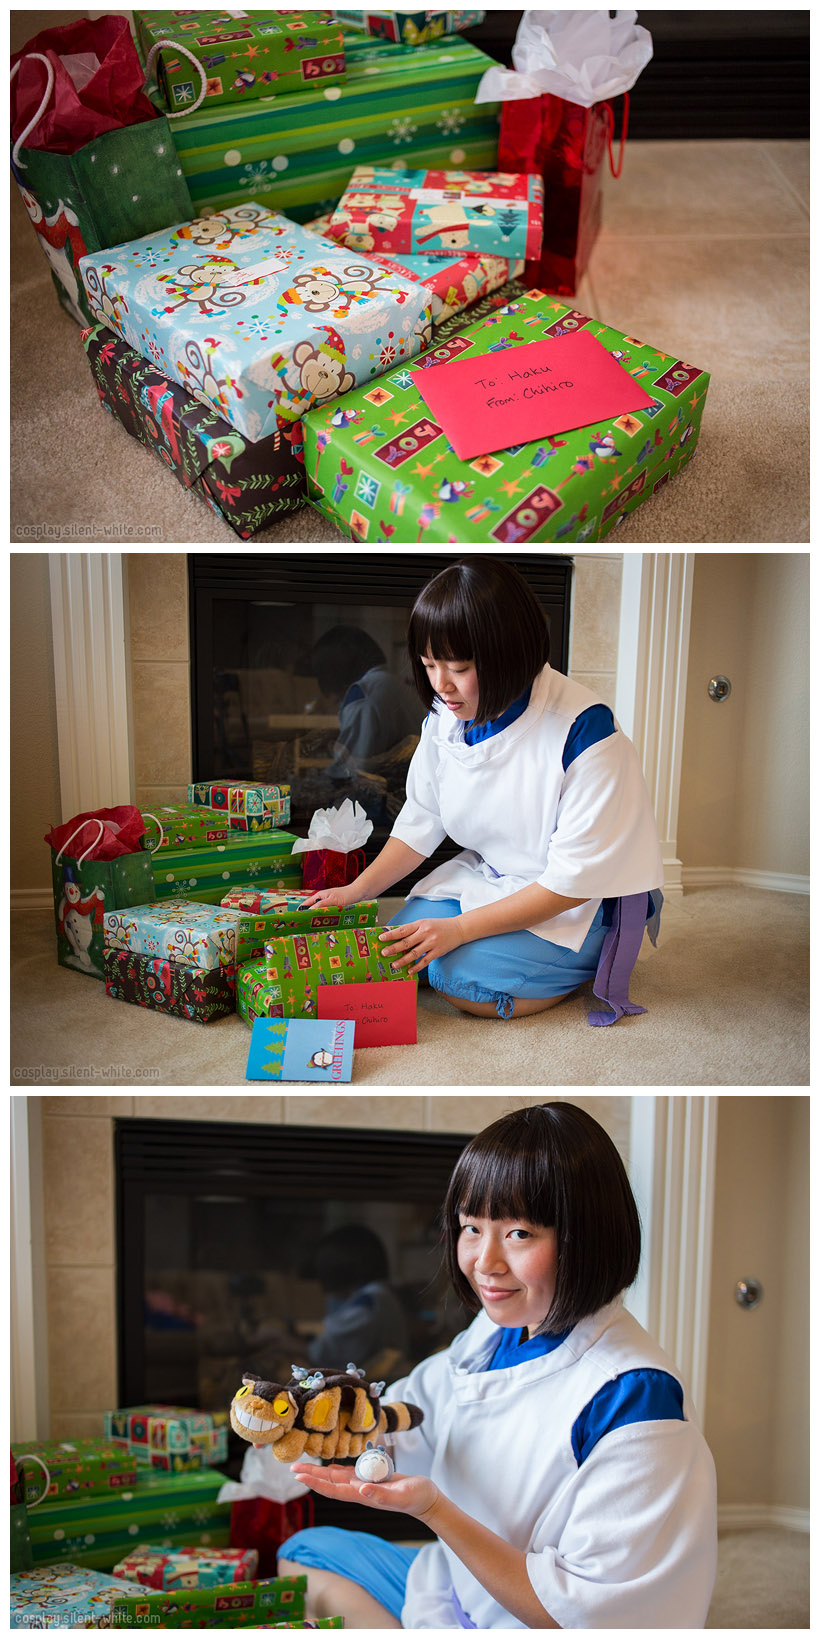
First, I did a Haku shoot for Christmas. It has 3 parts, so click here for the full image.
Then I did a black and white photo of my Knives Chau costume as part of my Project 52.

I do plan on starting a new cosplay project very soon. Hopefully I’ll have some progress photos up in March!
