
Halloween is over, and I’ve finished my daughter’s Sisu costume! I meant to keep up with blogging about its status while I worked on it, but I went into crunch mode as Halloween got closer. Now I’m going back to cover parts that I’ve done!
This entry will be how I made Sisu’s tail and her… scales? Or fins? (You know what I mean, right?)
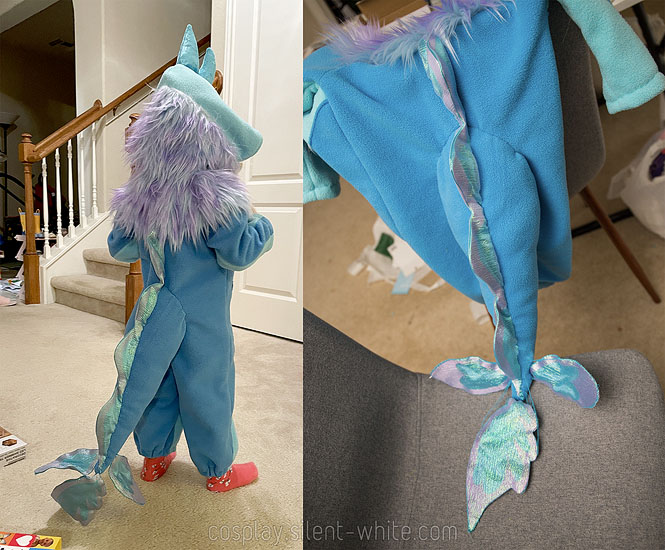
The tail was pretty simple. I made a triangular pattern to turn into a cone, and I split it, so that the bottom of the tail used the lighter blue fabric. Then I stuffed it with polyfil stuffing and hand sewed it onto the back of the costume.
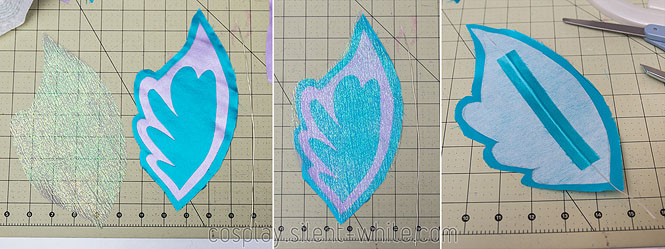
I’m actually not sure what the shiny fabric is that I used for the scales. I found them in the costume fabric section, marketed towards making princess dresses. (It’s probably some sort of satin.)

They’re layered in this way:
- shiny purple fabric on top is stuck on with Heat and Bond
- the back of the shiny blue fabric has fusible middle-weight interfacing
- there is a translucent blue fabric on top of the whole thing
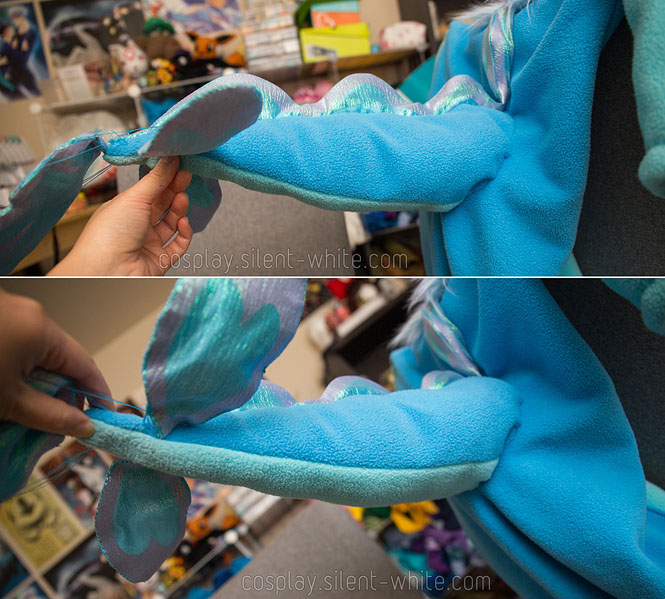
The 3 scales at the end of the tail have an extra step. On the back, I added an extra piece of fabric that is not fused in the center. This allowed me to slip jewelry wire in there, so that it could stay stiff. (The back section of scales didn’t need the wire.)
And then everything is hand sewn onto the tail and the back of the costume! I also added extra thread to the 3 fins at the end of the tail, so that they wouldn’t drag on the floor.
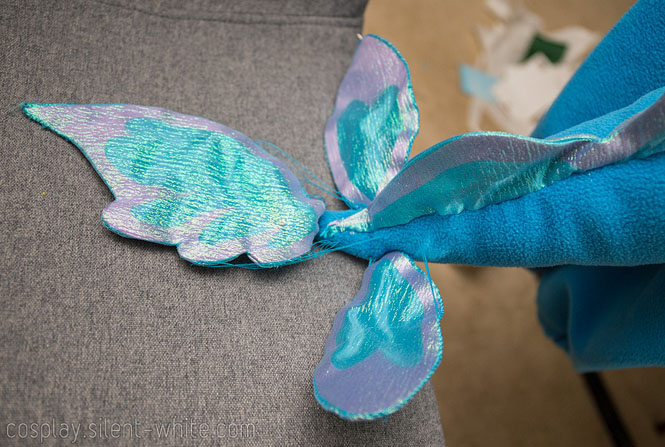
The jewelry wire and extra thread helped a lot in giving those fins some extra support. Next up, I’ll go over the remaining details of Sisu’s costume!
I know it’s been a few years so small chance, but would you happen to have photos of how you did the mane and horn? Thanks!