I’m close to finishing Chell’s jumpsuit! Here is the current progress:
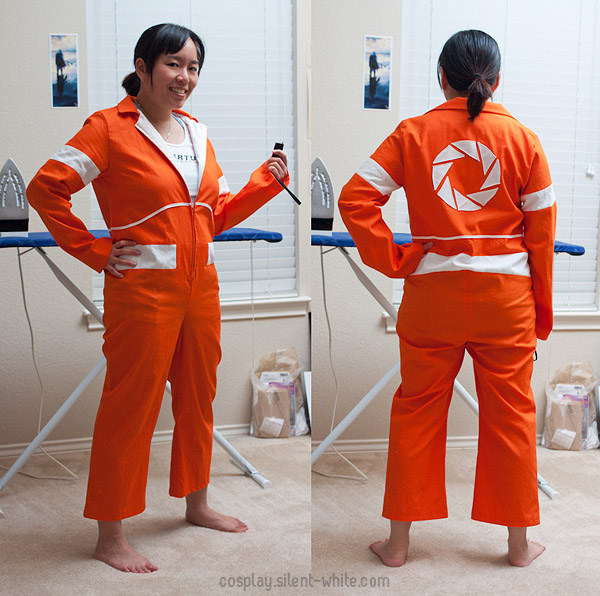
In the last entry, you’ll see that the stripe on the waist went all the way across. I realized I did it wrong after looking at my references again. The stripe on her waist actually stops in the front, leaving a little gap. I had to undo the ends of the waist stripe, cut it off, attach a piece of orange fabric, and then sew it back on.
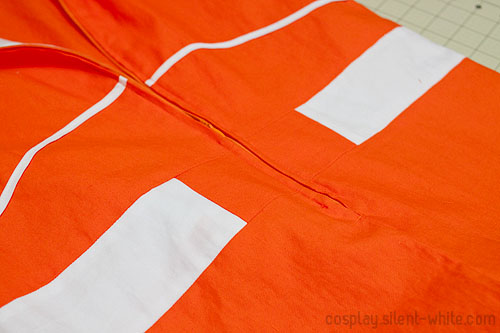
I also added the thin stripe above the waist stripe. I outlined where I wanted it to be with a fabric pen, and then I just sewed one continuous line of bias tape to the jumpsuit. I used double fold, 0.25in wide bias tape.
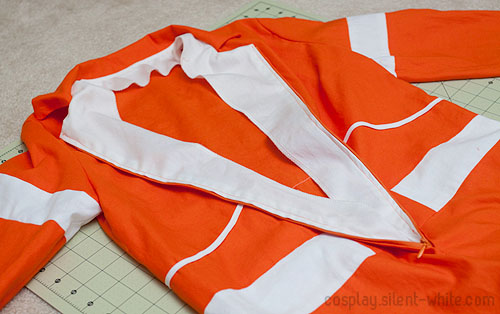
After that, I partially sewed on the front facing and pressed down a 5/8″ hem along the facing and the jumpsuit edge. I then stuck the zipper between them and sewed it on. I was trying to decide on the facing color and went with white. It’s orange in the first Portal, but it’s white in Portal 2.
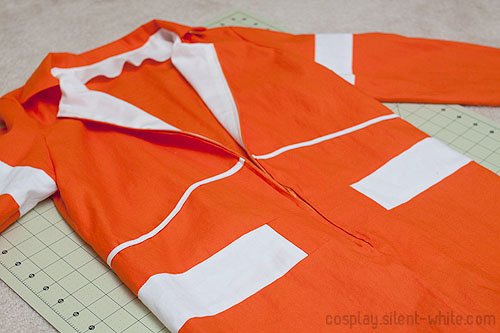
I actually followed the original pattern for the front facing part. It doesn’t line the whole jumpsuit front. It’s just a strip down the zipper part.
And now the logo! I decided not to use iron-on for it. I’ve used iron-on adhesive before, and it sticks really well. I knew if I messed up with it, it’d be really hard to take off. Thus, I decided to sew it on.
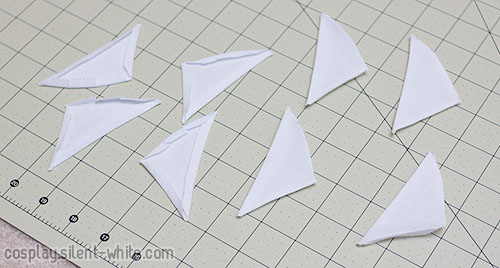
First, I cut out each part of the logo with a bit of allowance at the end. I then folded the allowance down and pressed it.
I actually found a vector of the Aperture logo, so I printed it out and cut it out. I used this to help me figure out where to place the logo.
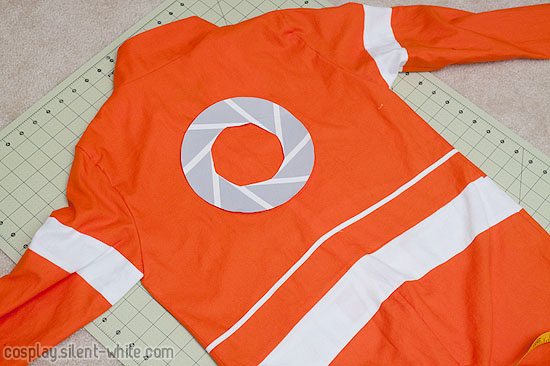
Once I decided on the position, I used a fabric pen to draw in the outer outline and drew in the pieces. Then… I just sewed where I placed the outlines!
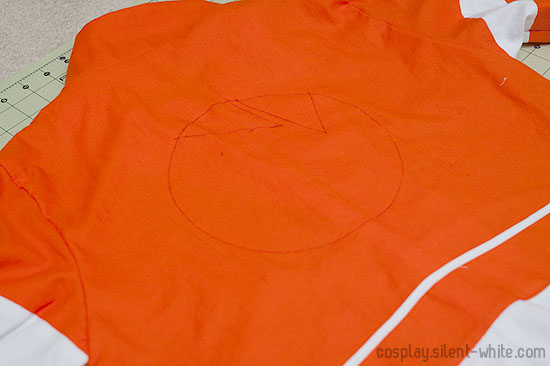
The fabric pen I use, by the way, is one of those “air erasing” ones. In other words, it disappears by itself after about a day. Really handy!
Anyway, I plan to have the jumpsuit fully done this weekend :) I can’t wait to show the finished product!
