
After the mishap I wrote about last entry, I replaced half of the pieces with newly dyed fabric. (I forgot to mention that I got the color using Cherry Red Rit dye, incase anyone was wondering.)
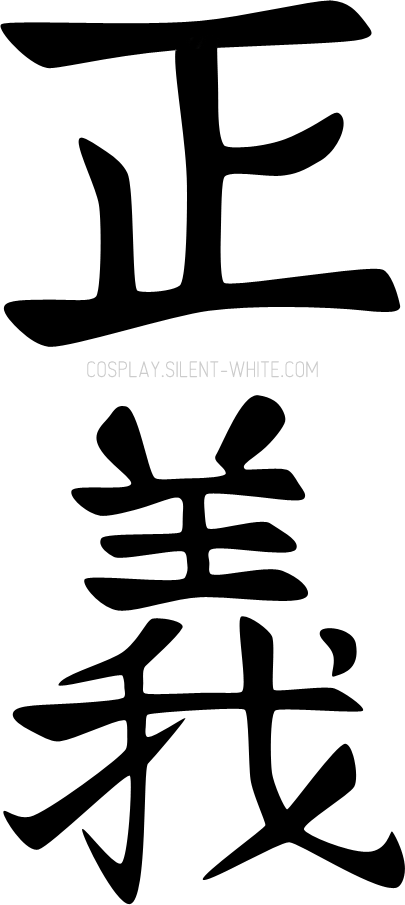
Then I sewed the front pieces together and the back pieces together, but I didn’t join the front and back immediately. I stopped to do the kanji on the back first. I used several screenshots as references and made a vector, which I printed out. Fortunately, the fabric was light enough that I could put the kanji behind it and then trace with a fabric pen.

I’m glad I used a temporary fabric pen at first because I didn’t like how I spaced out the characters. I ended up washing it out and trying again!
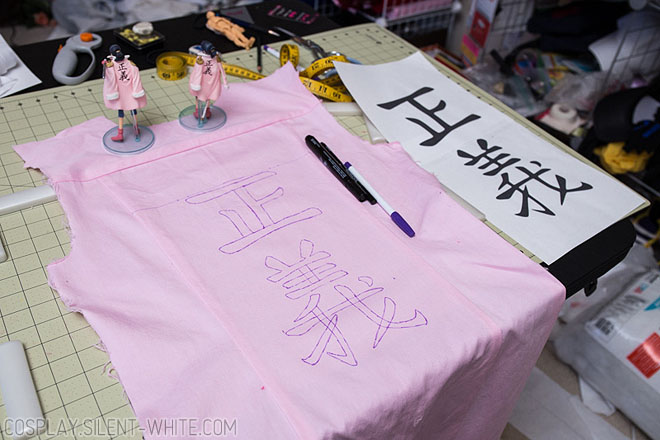
After I got it where I wanted it, I used a thin fabric marker to trace it out first.

Then I used a thicker marker to finish filling it in.
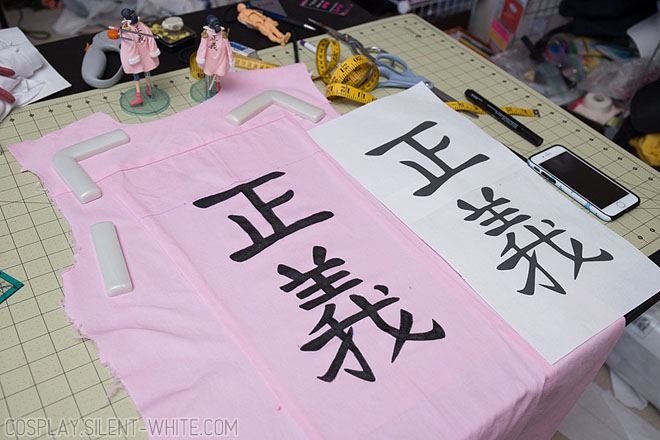
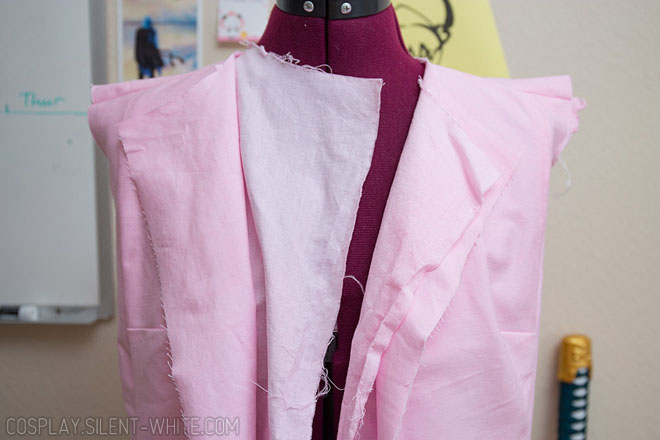
Here is where I’m at now. After the ink dried, I sewed the front and back together, and the lining is also in the same state. Next up is to add the sleeves, and then I’m going to work on the collar before joining the outer fabric and lining together.
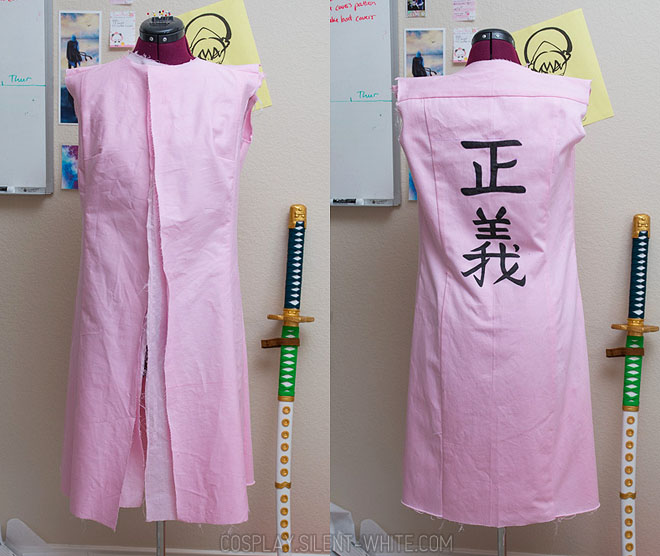
Oh, if anyone needs the Navy “Justice” kanji for their coats, here is what I used!